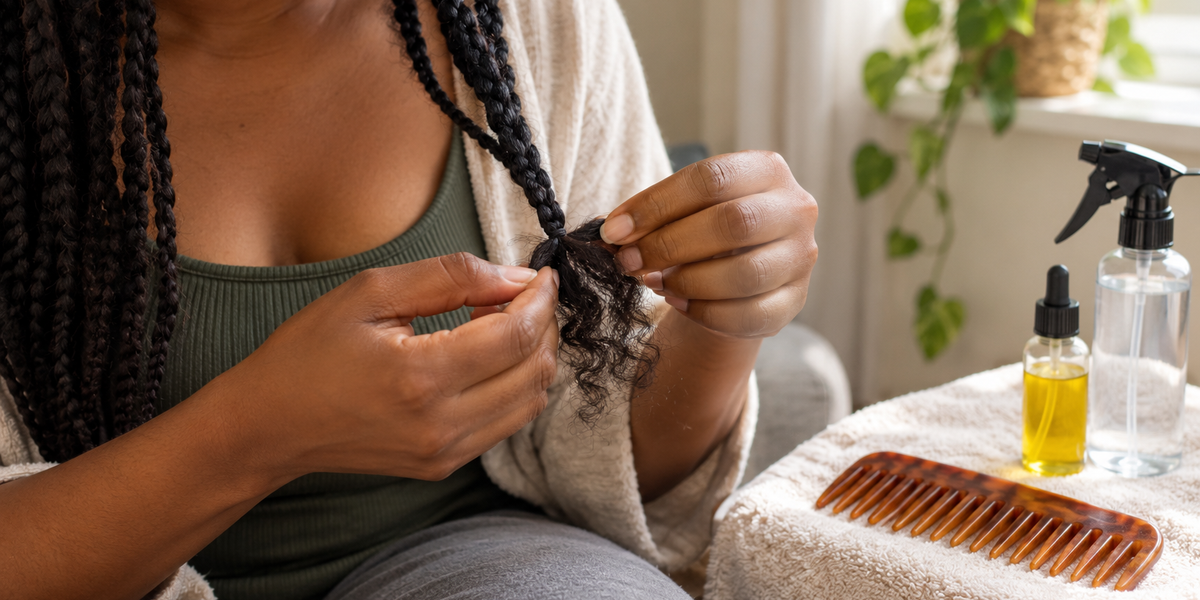
How to Take Down Braids Without Damaging Your Natural Hair
Takedown is where a lot of the length you retained gets lost, usually through rushing. Here's how to do it slowly and properly.
You spent weeks looking after your braids. You wrapped your hair at night, kept your scalp moisturised and resisted the urge to pick at the edges. And then on a Sunday evening with a film playing in the background, you sit down, start pulling, and half of that effort quietly disappears into a pile of broken hair on the floor.
Takedown is where a surprising amount of damage happens, and almost all of it comes from rushing. Set aside proper time, get your supplies ready first, and it becomes one of the easiest ways to protect the length you worked to keep.
H2: Set aside more time than you think you need
Most people underestimate how long takedown takes. Depending on the size of the braids and how much new growth has built up, it can take several hours, sometimes a full afternoon. If you start when you're tired or in a hurry, you'll pull, and pulling is what breaks hair.
Pick a day when you have no plans, put on something to watch, and work in small sections rather than trying to finish in one go. Splitting it across two evenings is completely fine.
H2: Get your supplies ready before you start
You don't need much, but having it all within reach stops you from grabbing whatever is nearby.
- A wide-tooth comb and a fine-tooth comb for the very end
- A leave-in conditioner or a detangling spray
- A light oil for softening stubborn spots
- Small clips to hold sections out of the way
- A pair of small, sharp scissors or a seam ripper for cutting the extension hair only
That last item matters. When cutting extension hair, cut well below the point where your own hair stops and take your time. Cutting too close is one of the most common ways people snip their own strands by accident.
H2: Start from the ends and work up
Cut the extension hair a few centimetres below your own hair, then unravel the braid slowly from the bottom up. Don't yank at the knots at the root end. If a section feels stuck, add a little oil or detangling spray, loosen it with your fingers and be patient.
Working from the ends upward means you meet tangles in small sections instead of one large mat near the scalp. It's slower, but it protects your hair and your edges.
H2: Don't panic about the shed hair
Seeing a large amount of hair come out during takedown frightens a lot of people, and it's often mistaken for breakage. In many cases, a good portion of it is hair that shed naturally over the weeks the style was in. Because the braids held it in place, it stayed put until you took them down.
That said, if you notice a lot of short, snapped pieces rather than longer strands, that's worth paying attention to, since it can point to dryness or tension during the style. We cover what makes a style genuinely protective in our guide to protective hairstyles that actually protect your hair.
H2: Detangle in sections, with product
Once the braids are out, resist the urge to comb everything at once. Divide your hair into four or more sections, clip them up, and detangle one at a time with a wide-tooth comb, working from the ends up and using a conditioner or detangling spray as you go.
Take your time on the roots and new growth, where tangling is usually worst. If you hit a knot, don't force the comb through it. Loosen it with your fingers first.
H2: Wash and treat your hair afterwards
Once your hair is fully detangled, give it a proper wash and a deep conditioning treatment. Your scalp has likely collected product and sweat, and your hair has been away from regular moisture for a while. A gentle cleanse followed by a good conditioning session helps your hair come out of the style feeling soft rather than stiff.
If you plan to rebook straight away, hair that has been washed, conditioned and detangled is exactly what a stylist wants to see. It's the same principle behind preparing your hair before a styling appointment.
H2: Consider giving your hair a short break
Not every takedown needs to be followed by a new install the same night. A few days between styles lets you check the condition of your edges and scalp, assess whether your hair needs extra moisture, and choose your next style more deliberately. It's also a good moment to think about what actually worked in the last one. If your last style left you with thinning or sore edges, that's information worth taking into your next booking. Our piece on mistakes to avoid when getting your hair styled covers how to spot and avoid the common causes.
H2: When you're ready for the next style
Once your hair is clean, detangled and rested, you'll be in the best position to choose your next look. If you'd like a professional to handle the install, Zerrar Hairstyling makes it easier to book a hairstyling service when you're ready.
H2: The bottom line
Careful takedown is the part of protective styling that nobody posts about, and it's often what decides how much length you actually keep. Give it time, prepare your tools, work from the ends up and treat your hair gently afterwards. The style may be over, but the care isn't.
Ready for your next style after a proper takedown?
Book your hairstyling service through Zerrar Hairstyling:
https://hairstyling.zerrar.com